
acessar com www.ebanataw.com.br/arduino/expdisplay32digitos.htm
|
|
ESTUDANDO O MUNDO ARDUINO:E ANTECIPANDO O FUTURO: |
|
| DISPLAY 32 DÍGITOs | ||
|
acessar com www.ebanataw.com.br/arduino/expdisplay32digitos.htm |
|
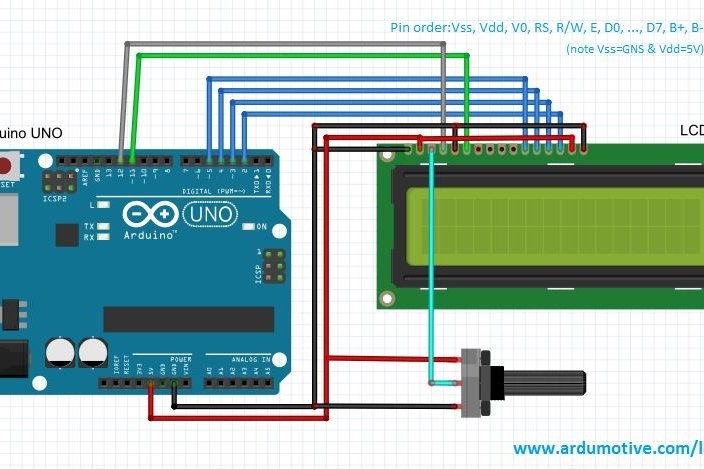
CONEXÕES:
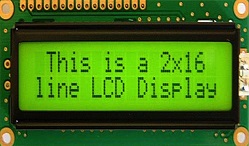
PROGRAMA: The lcd.begin(16,2) command set up the LCD number of columns and rows. For example, if you have an LCD with 20 columns and 4 rows (20x4) you will have to change this to lcd.begin(20x4). The lcd.print("--message--") command print a message to first column and row of lcd display. The "message" must have maximum length equal to lcd columns number. For example, for 16 columns display max length is equal with 16 and for 20 columns display max length is equal with 20. The lcd.setCursor(0,1) command will set cursor to first column of second row. If you have an LCD 20x4 and you want to print a message to column five and third row you have to use: lcd.setCursor(4,2).
/* Arduino Tutorial: Learn how to use an LCD
16x2 screen |
|
|
NOTA: Este site é mantido pela equipe do engenheiro Roberto Massaru Watanabe e se destina principalmente para adolecentes e estudantes. Pelo caráter pedagógico do site, seu conteúdo pode ser livremente copiado, impresso e distribuido. Só não pode piratear, isto é, copiar e depois divulgar como se fosse de sua autoria.
ET-18\RMW\arduino\expdisplay1digito.htm em 24/03/2018, atualizado em 02/01/2020 .